Please ensure Javascript is enabled for purposes of website accessibility

Golf Course Information

Prairie Golf at its Best

Prairie Golf at its Best

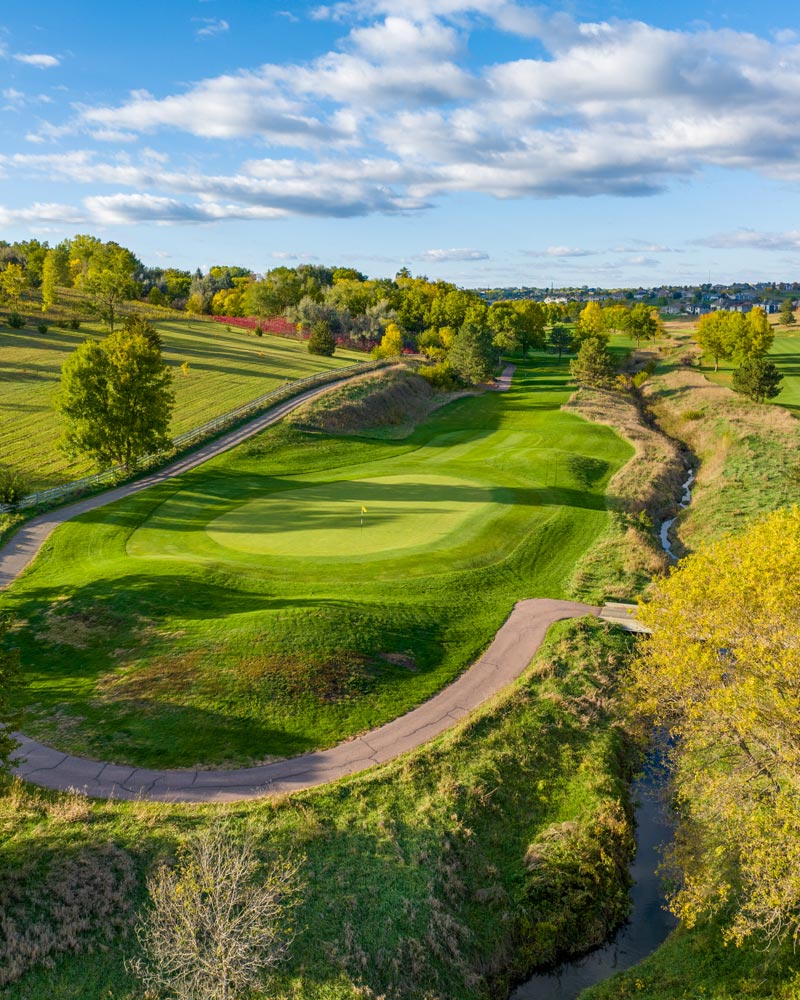
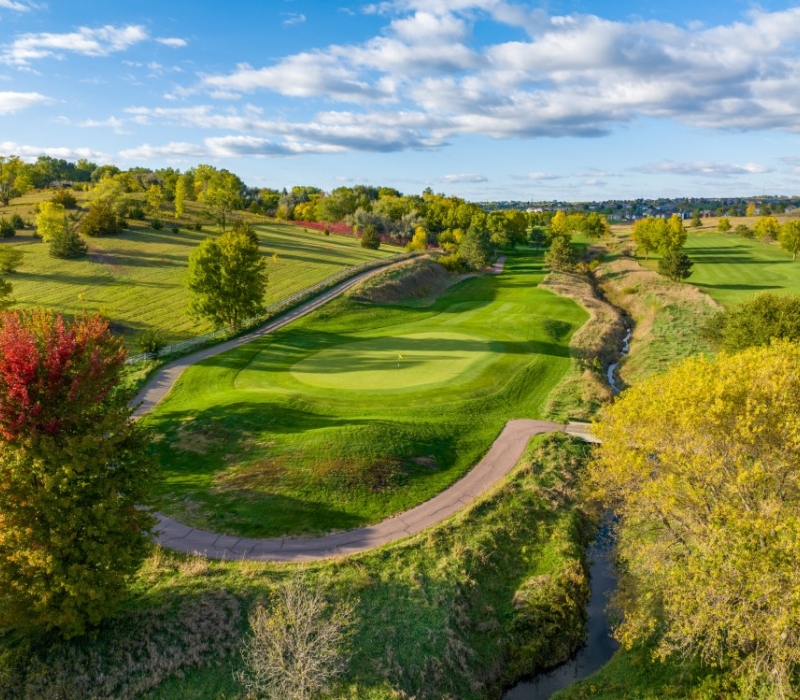
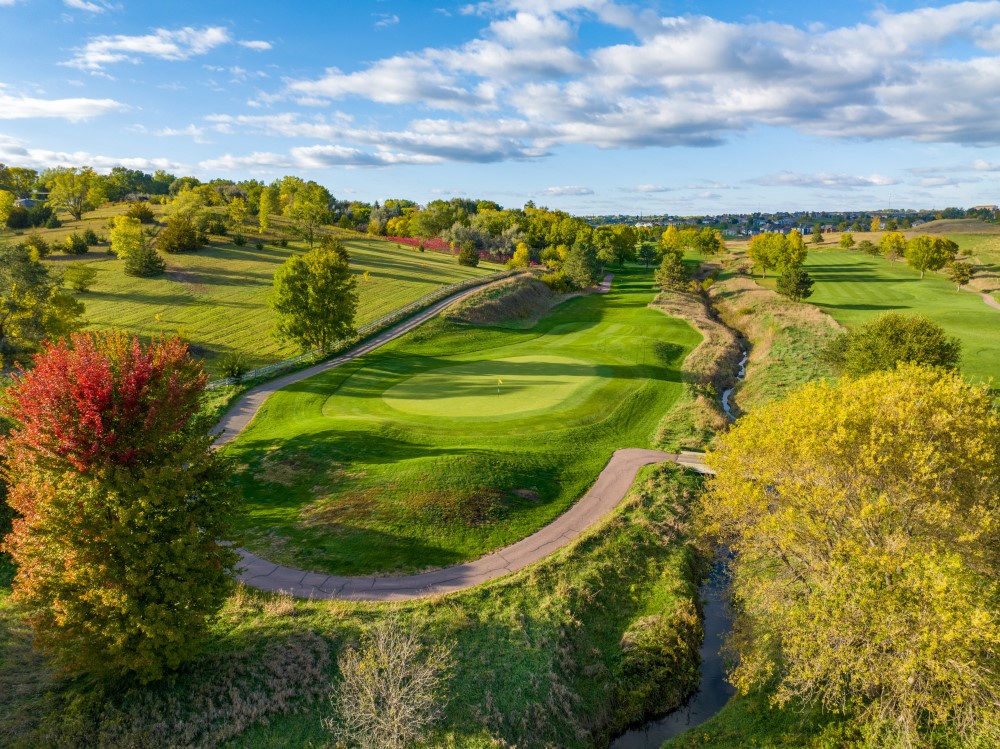
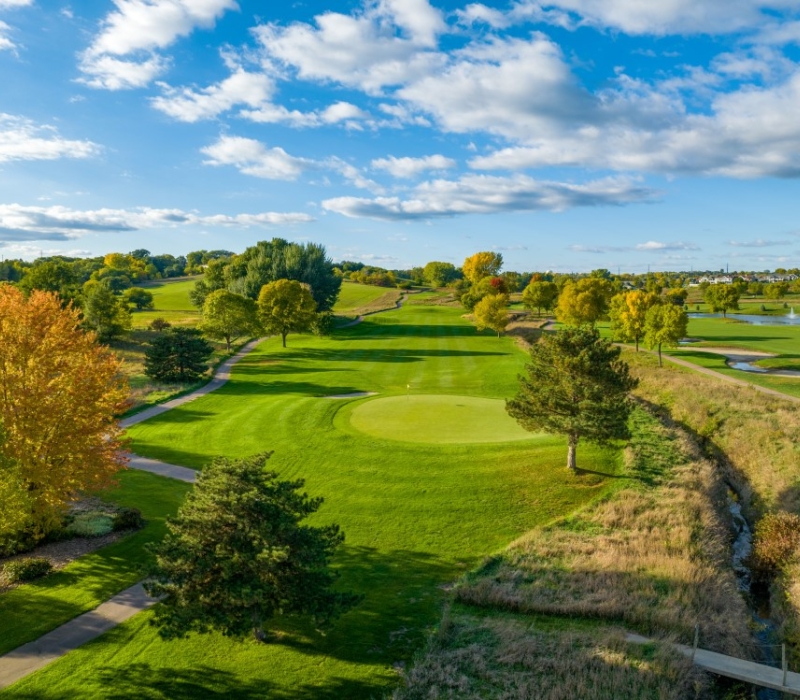
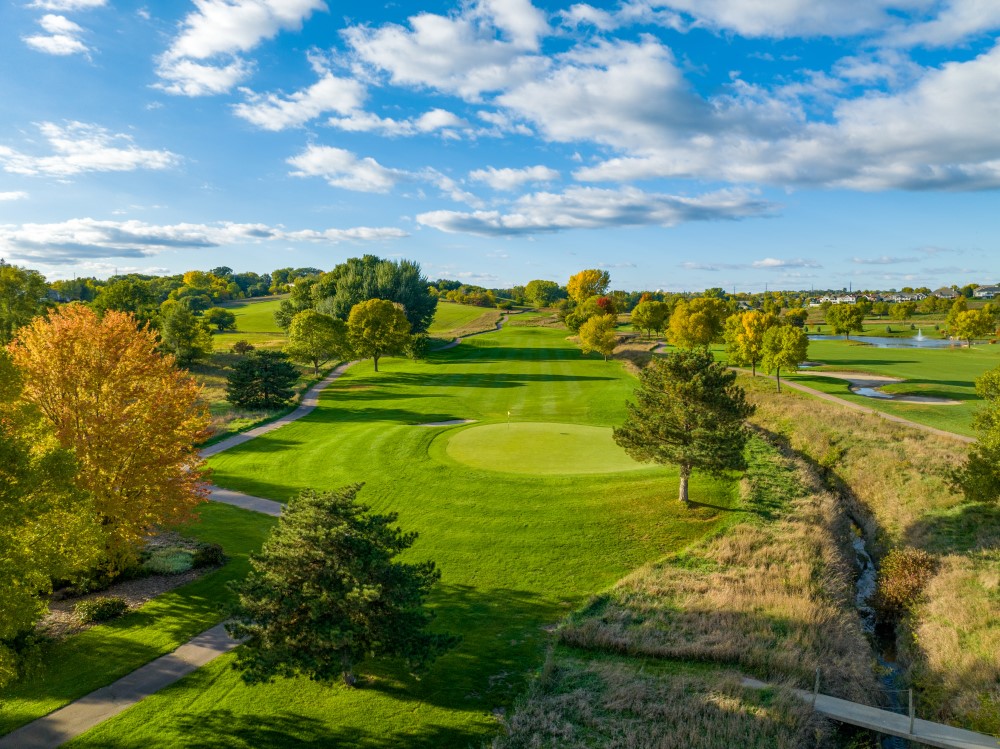
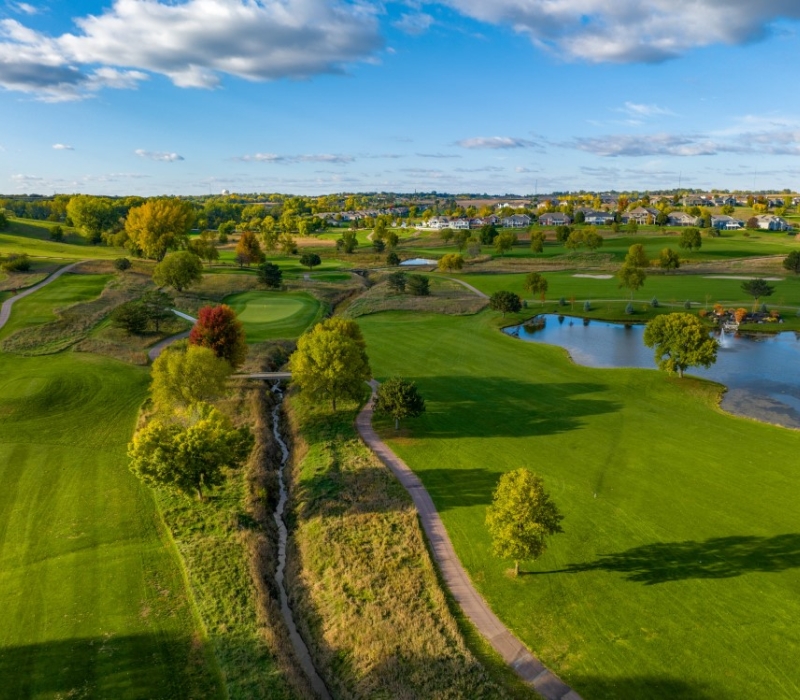
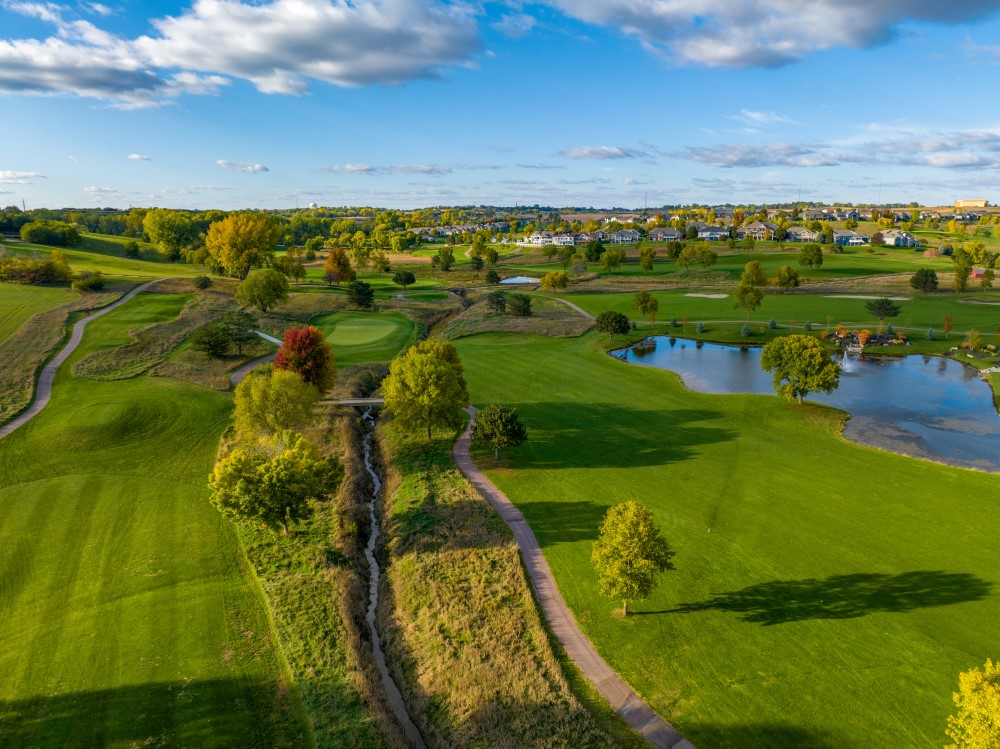
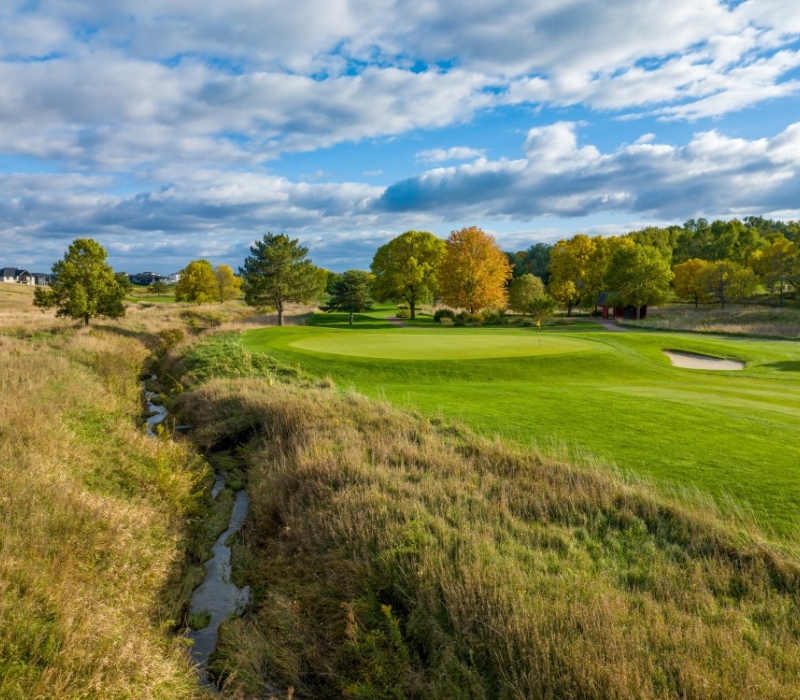
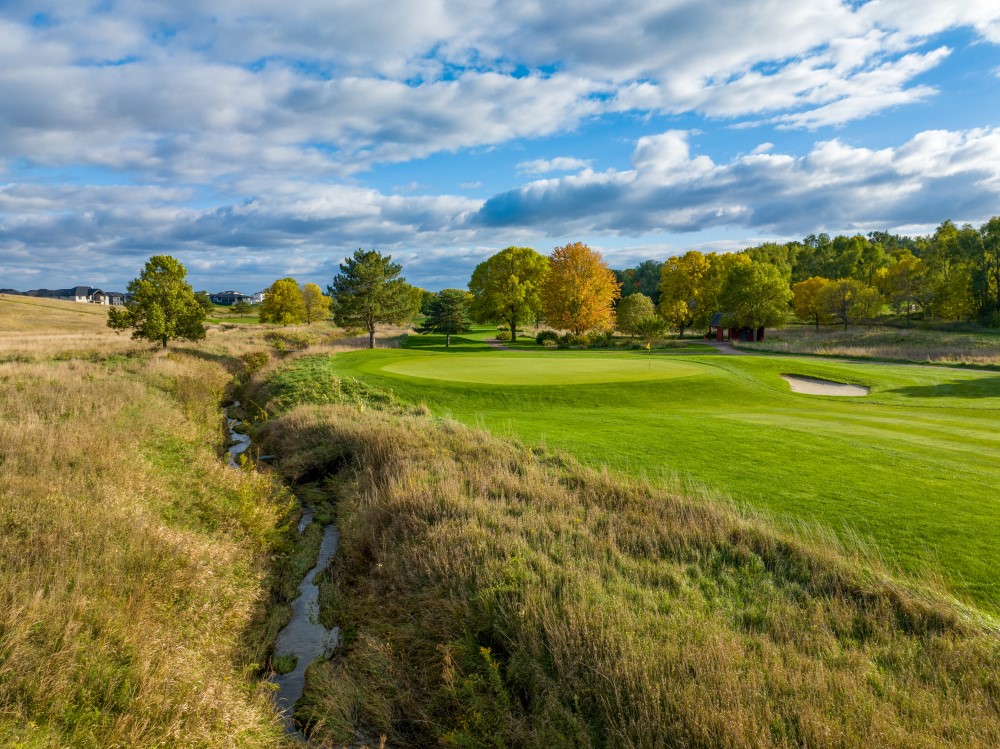
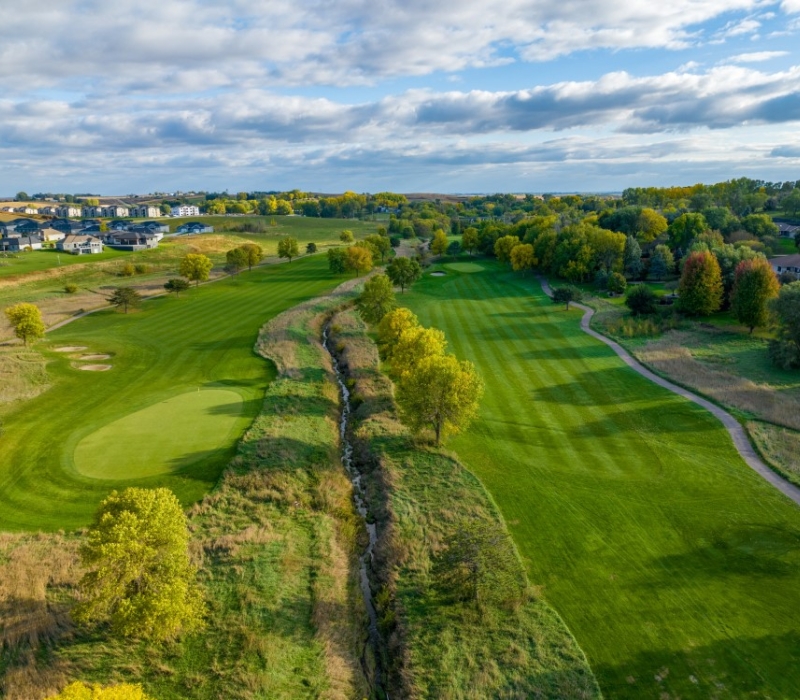
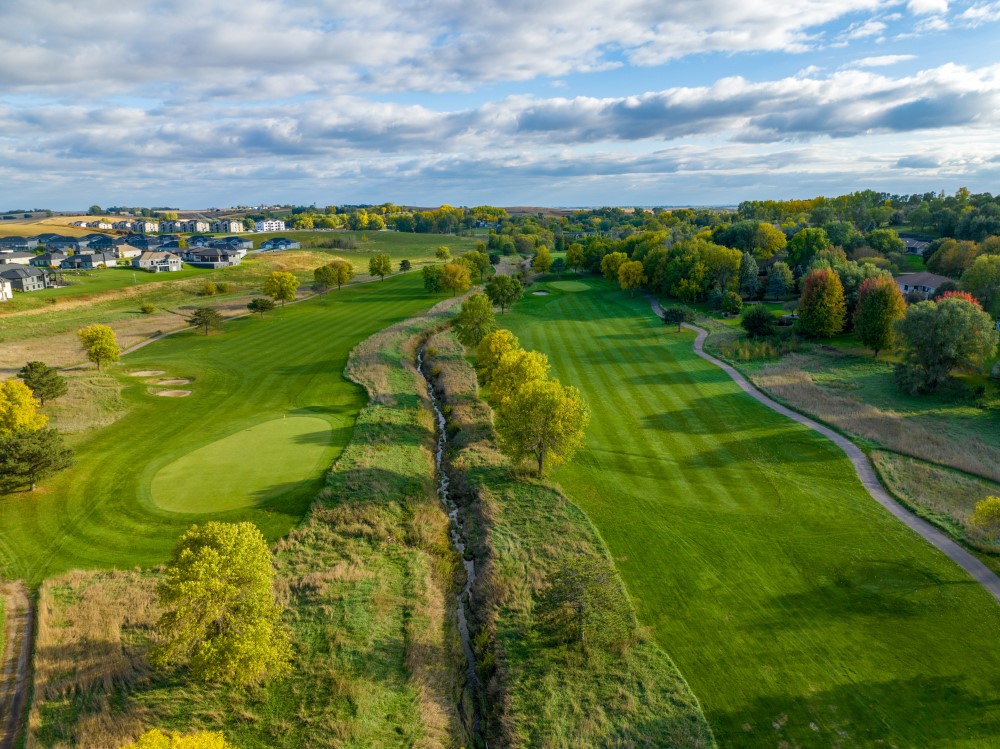
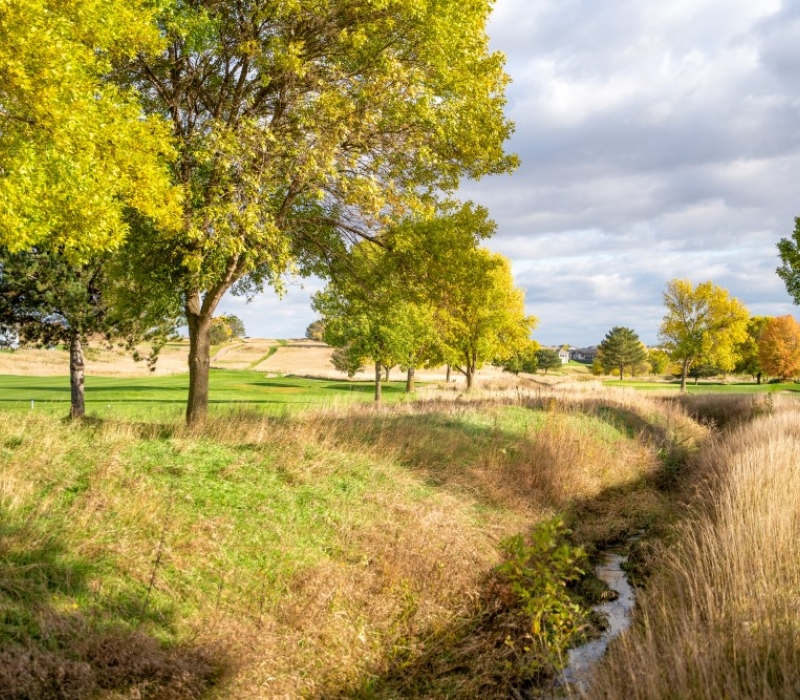
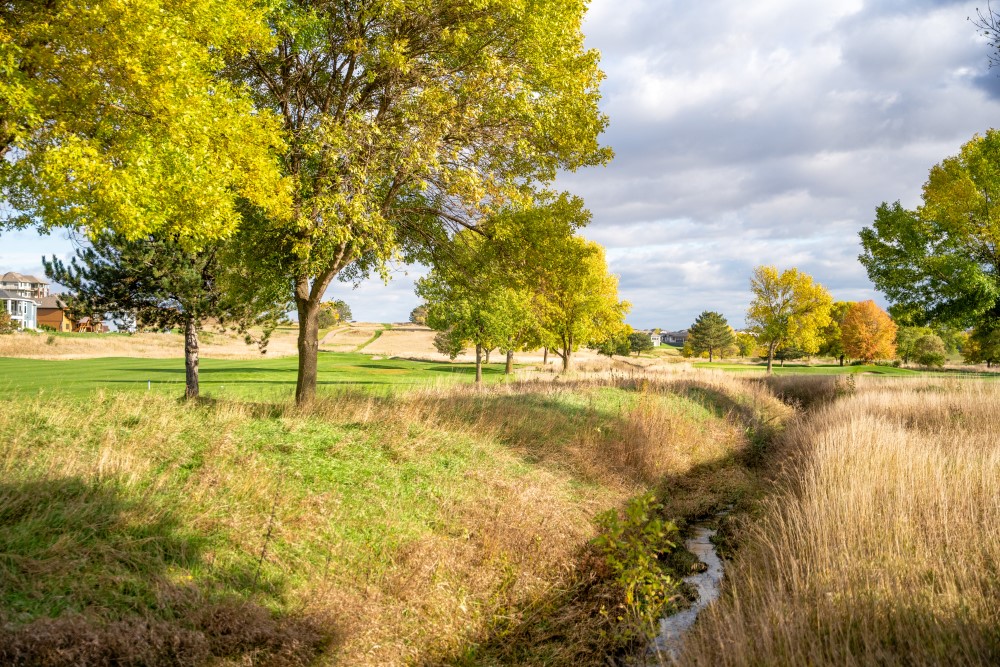
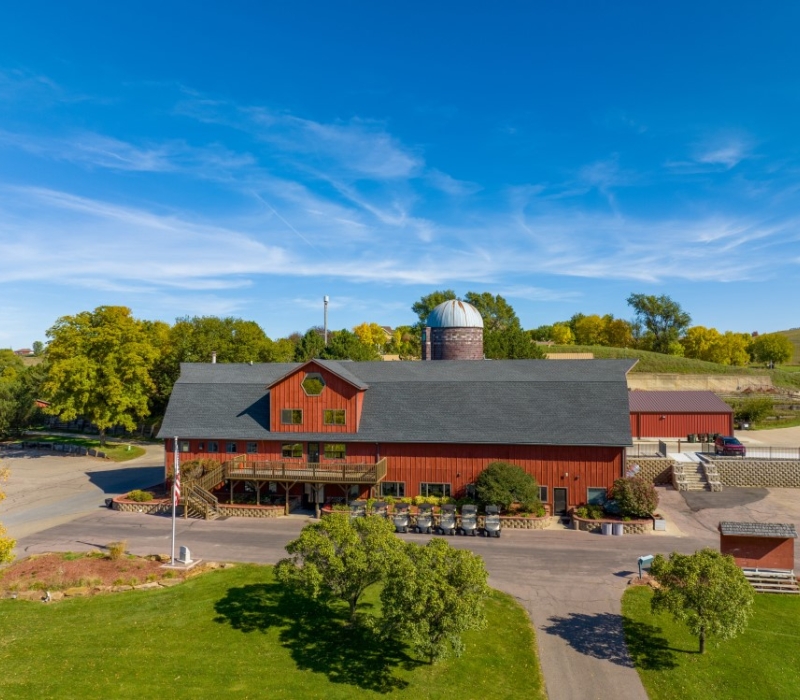
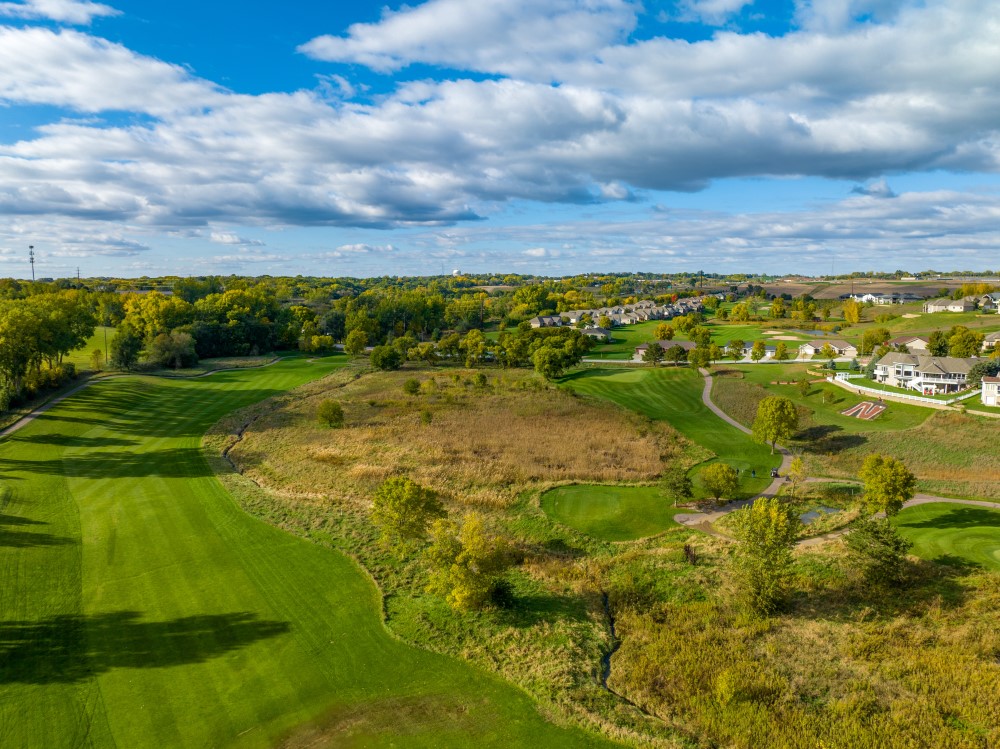
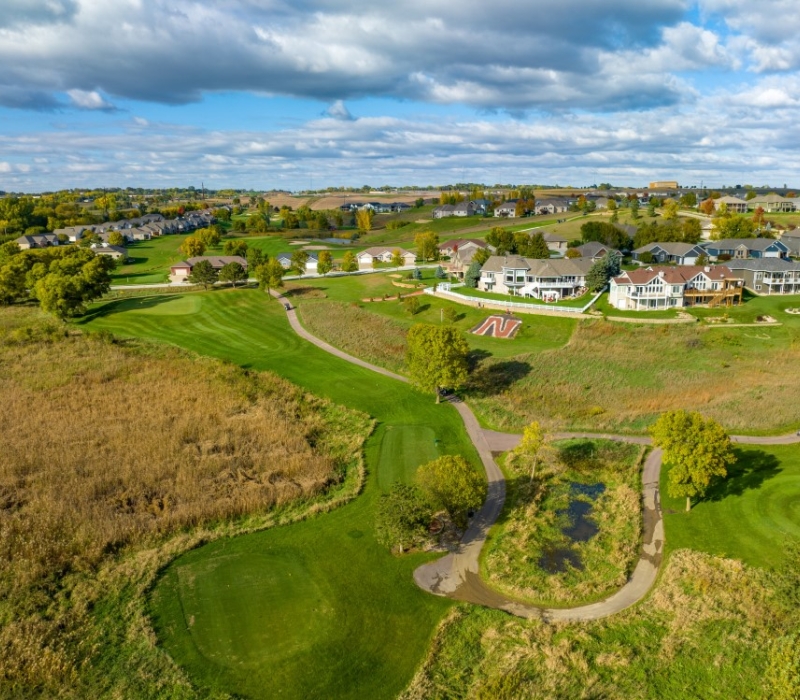
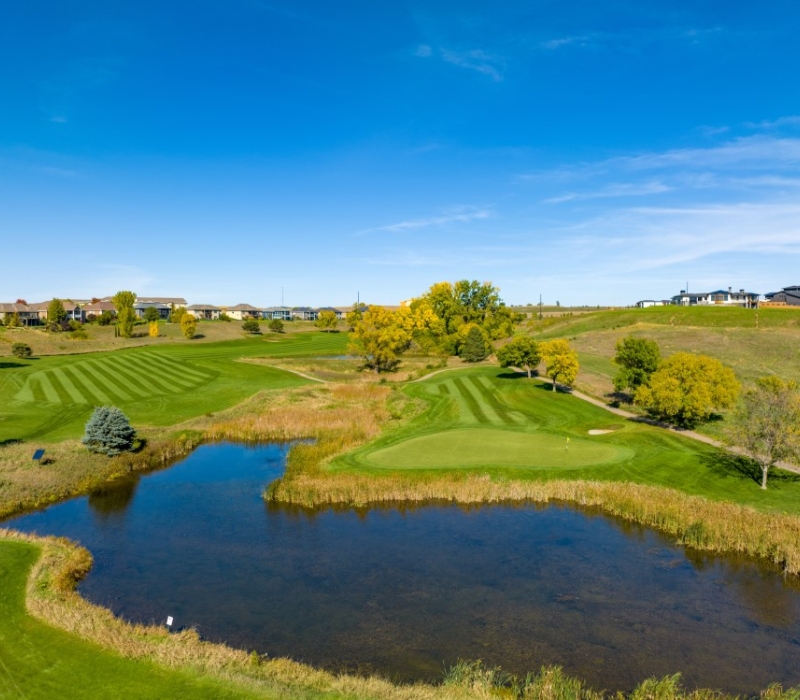
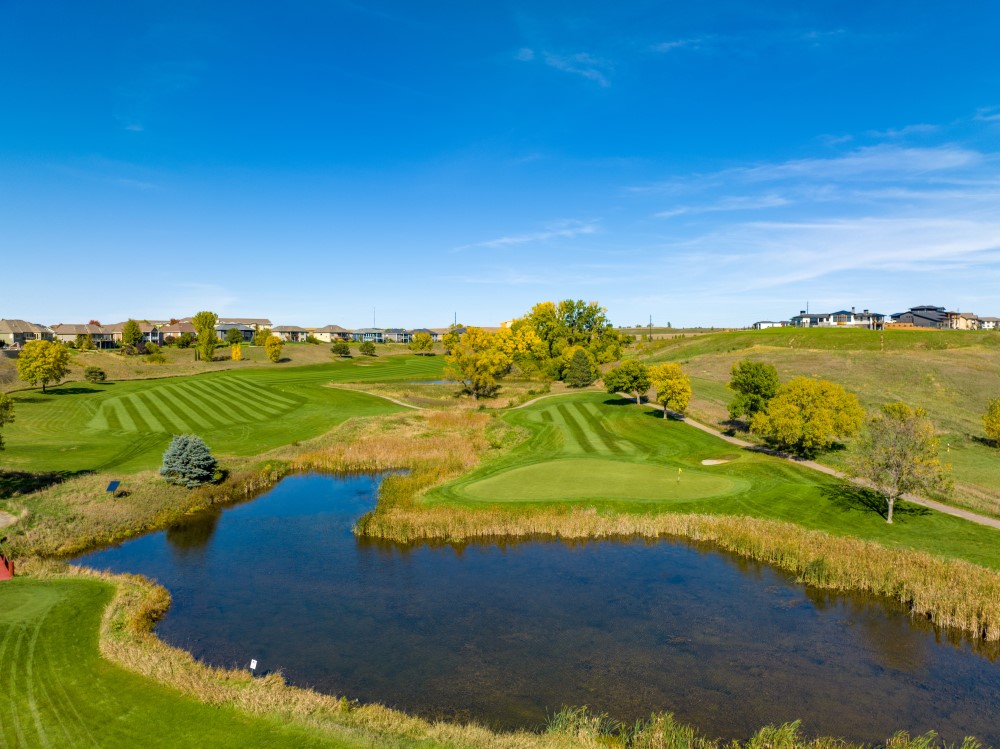
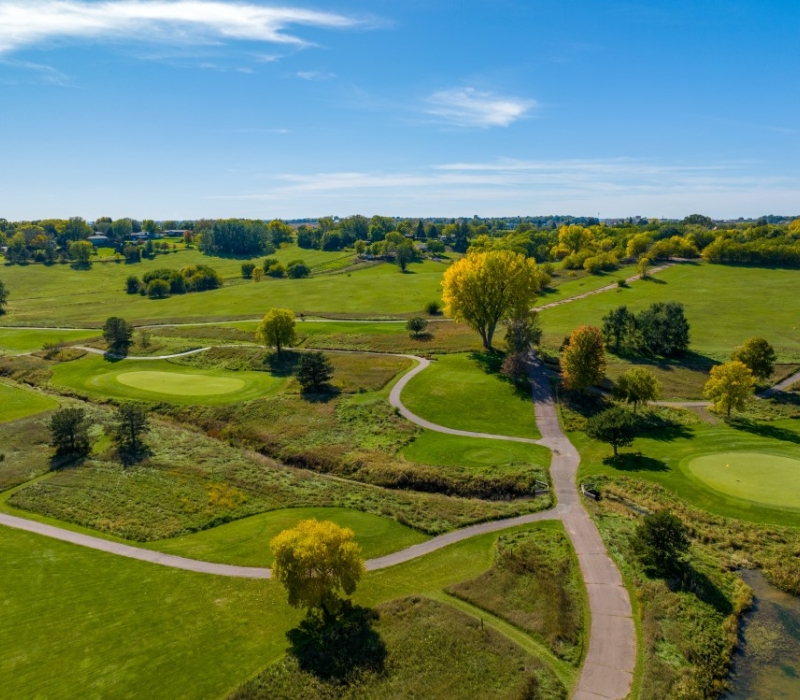
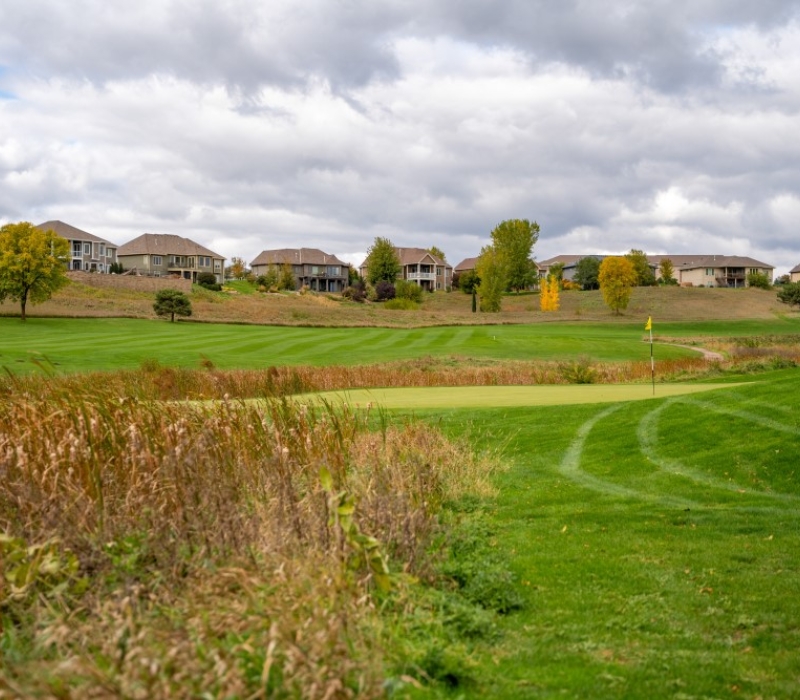
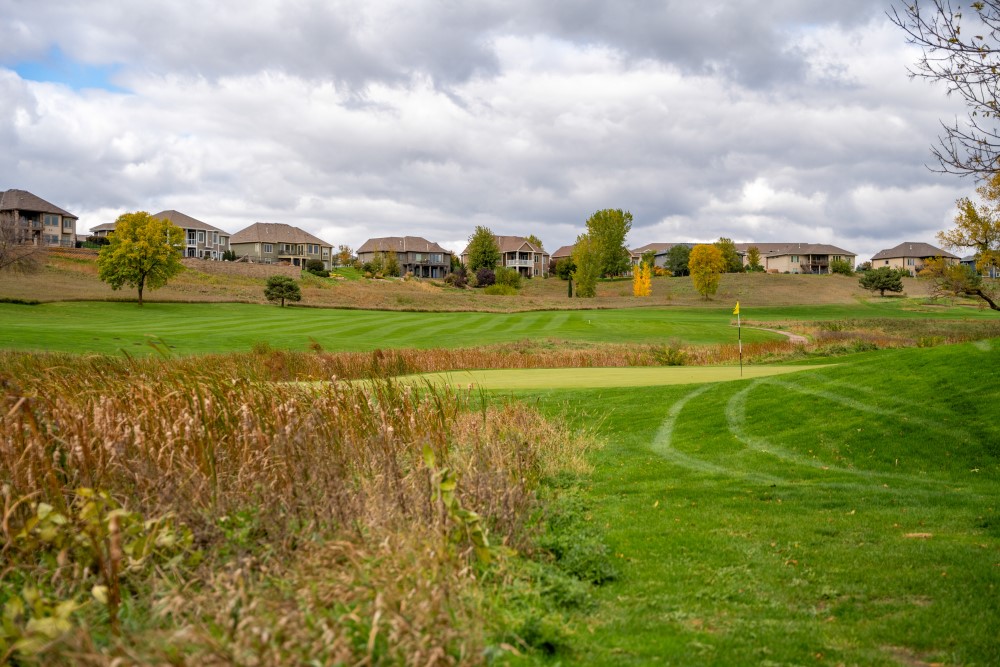
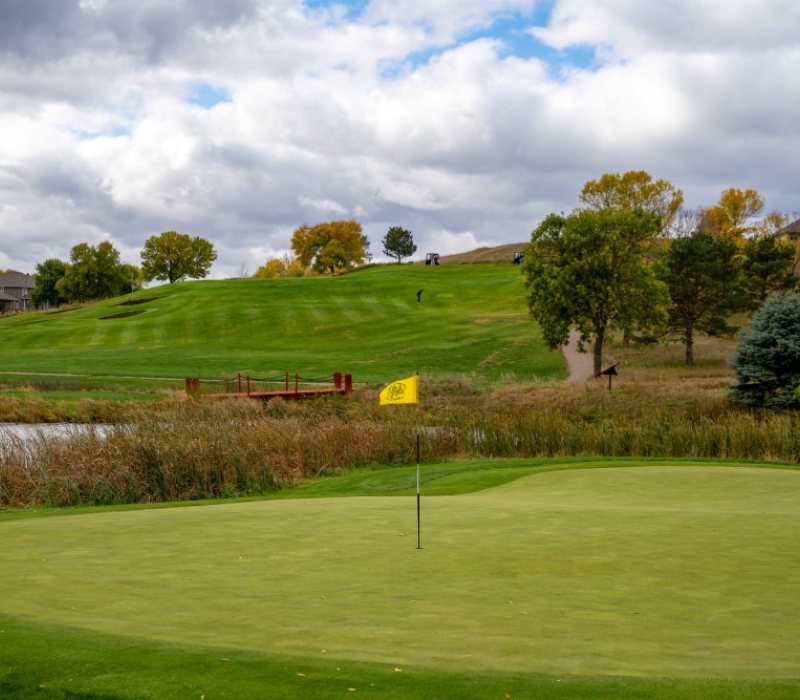
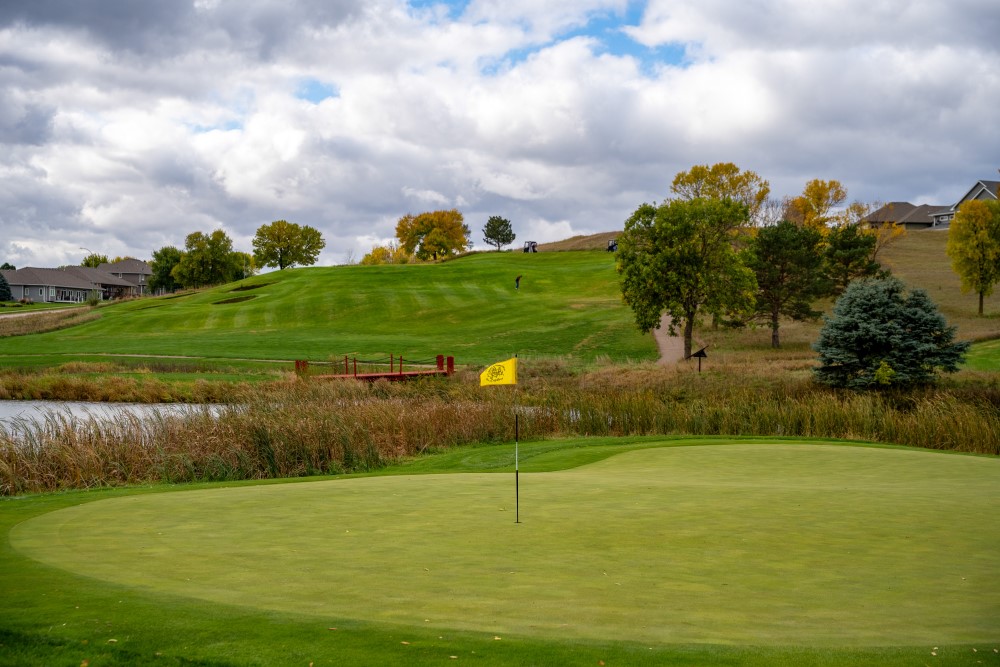
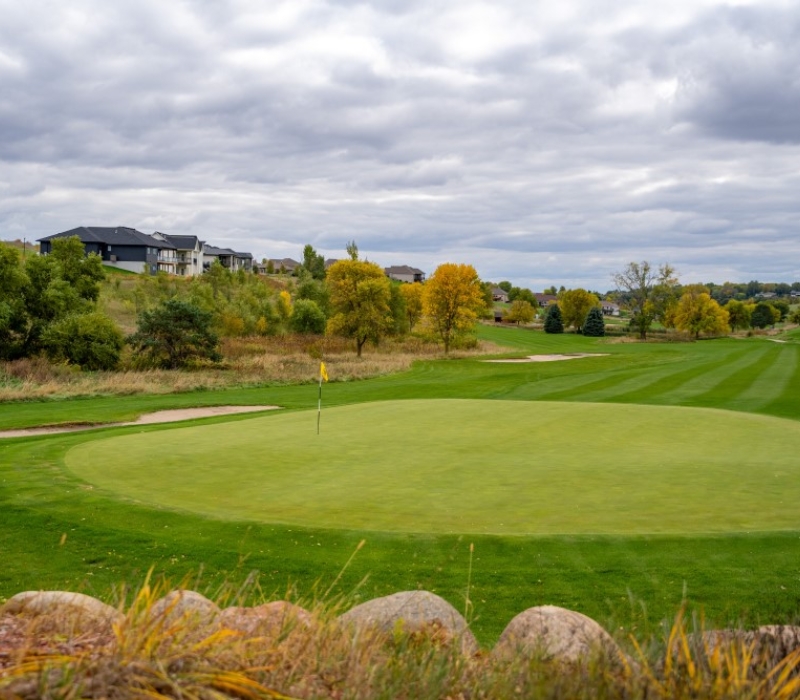
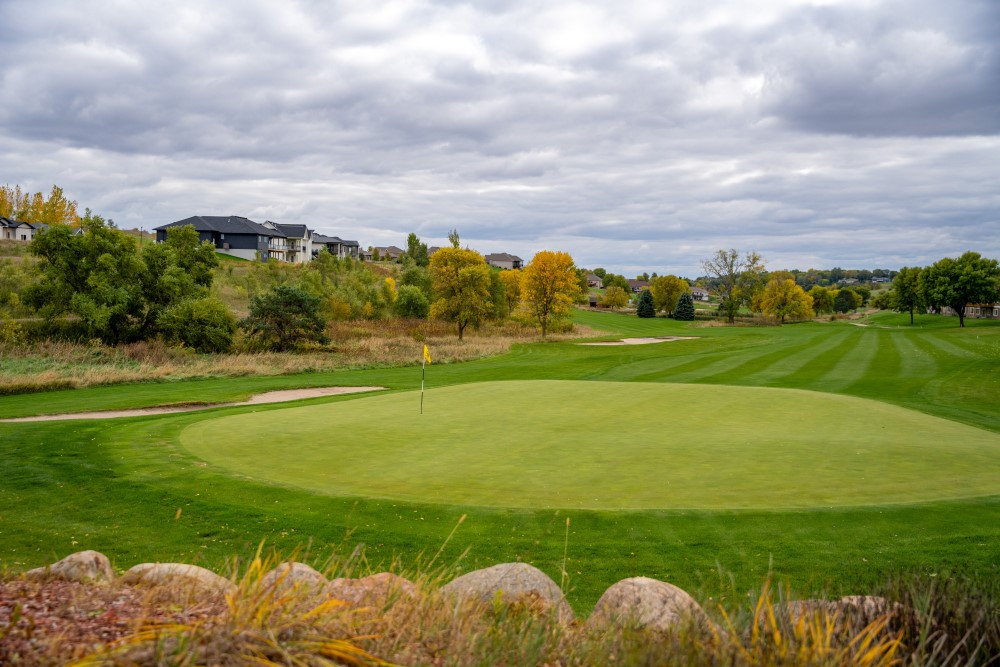
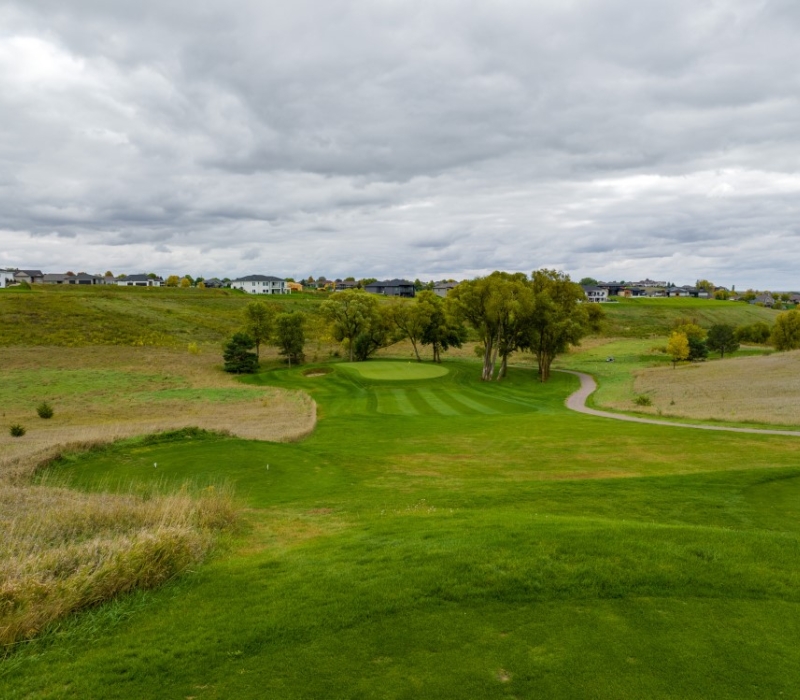
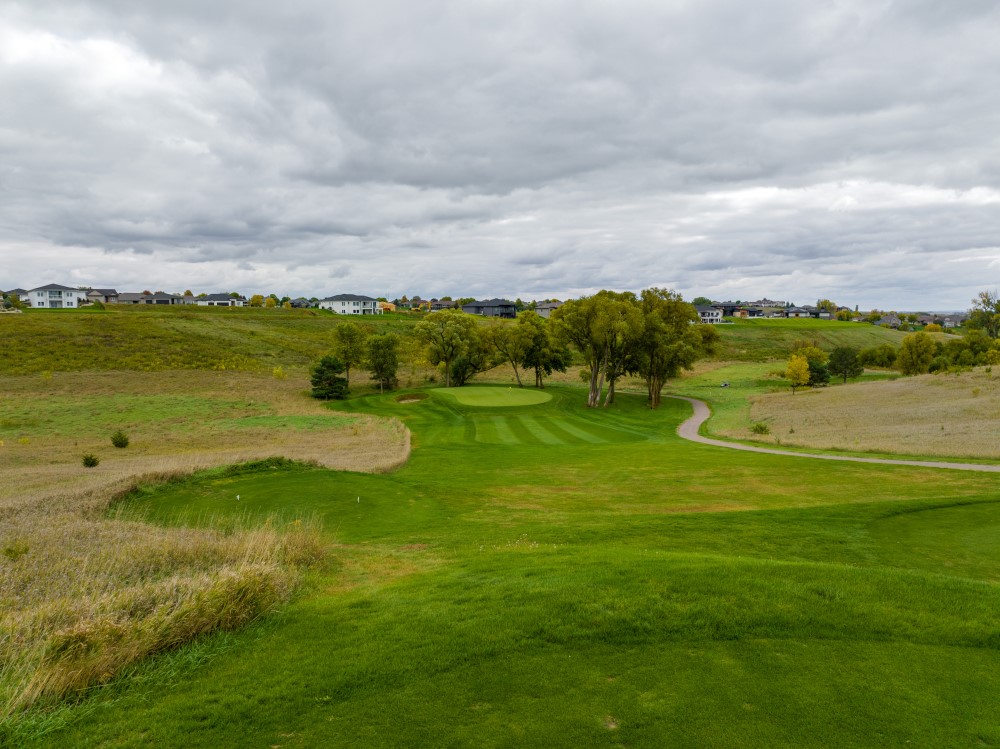
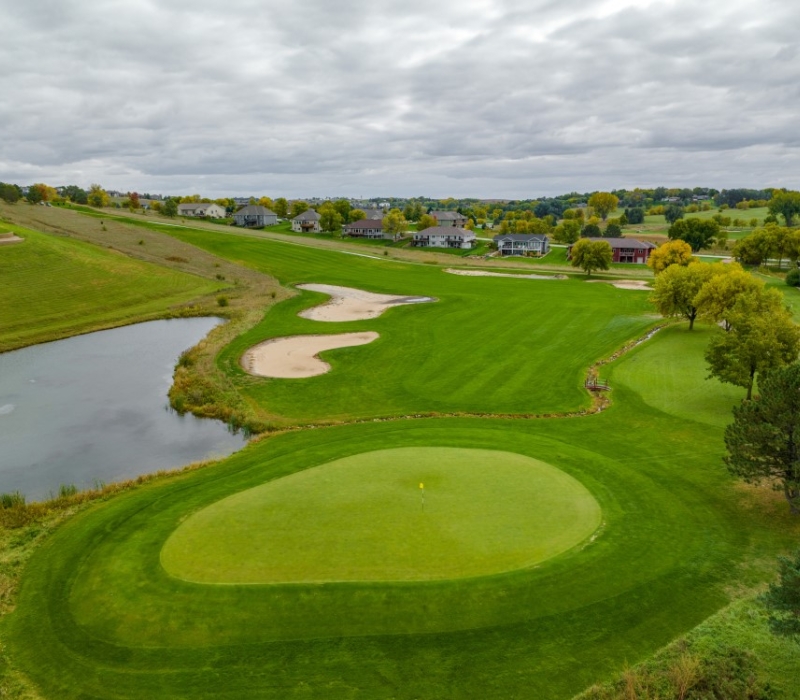
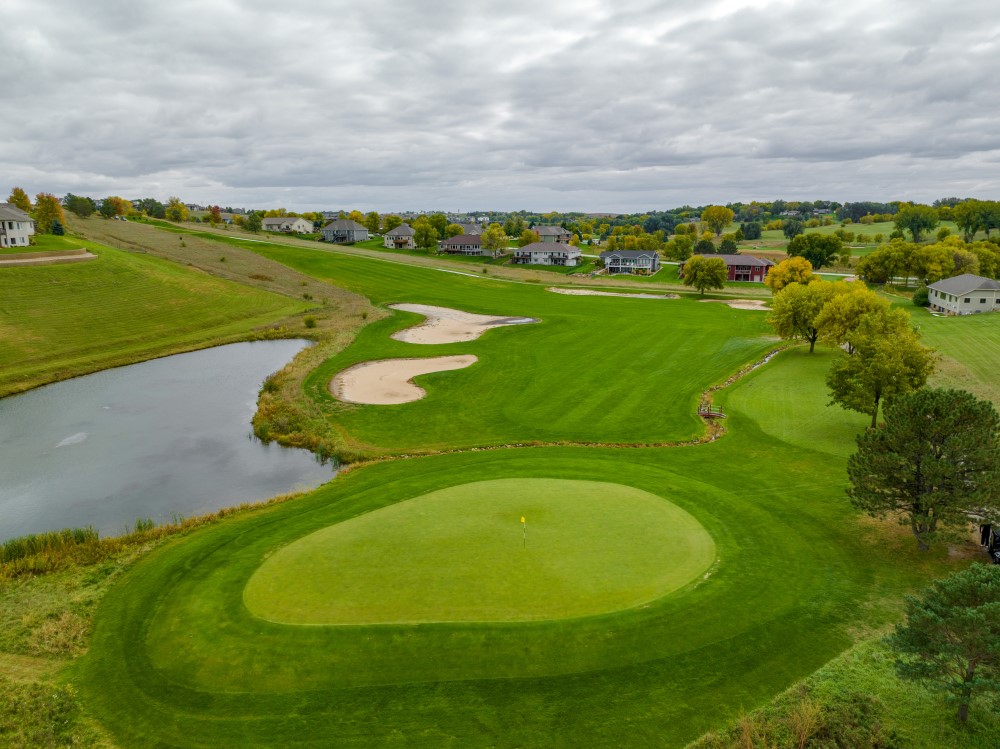
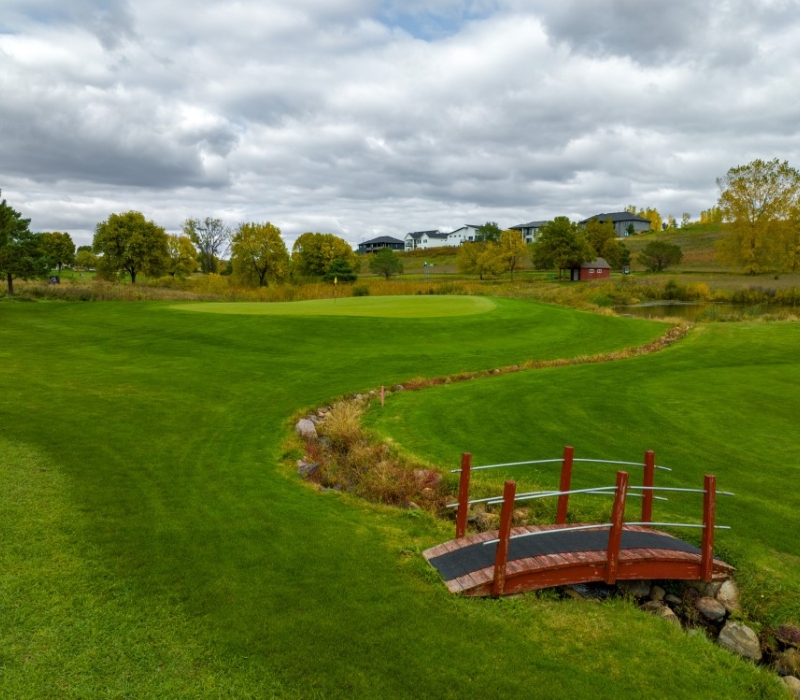
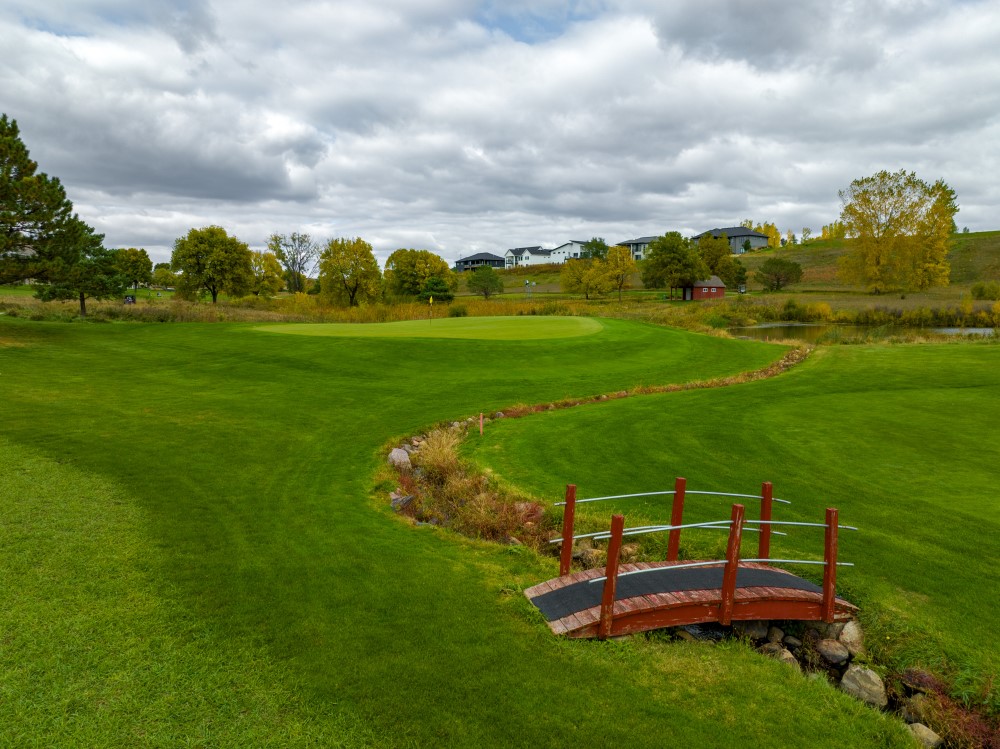
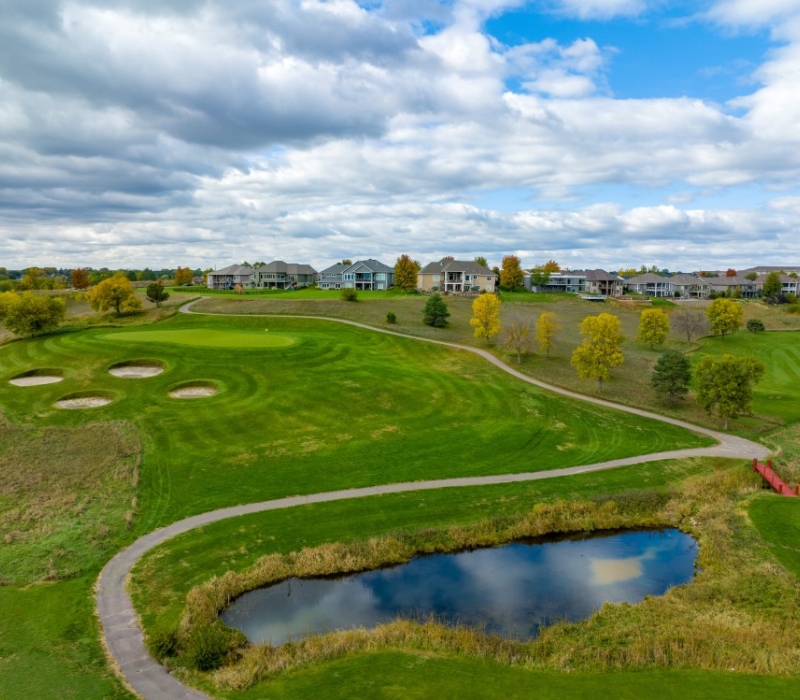
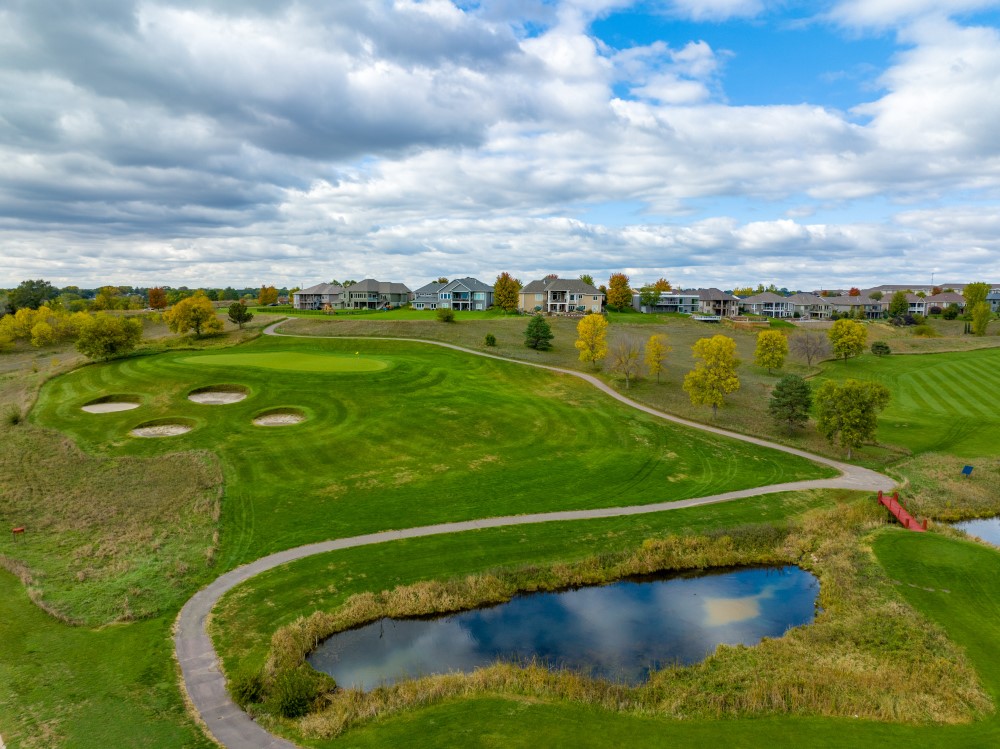
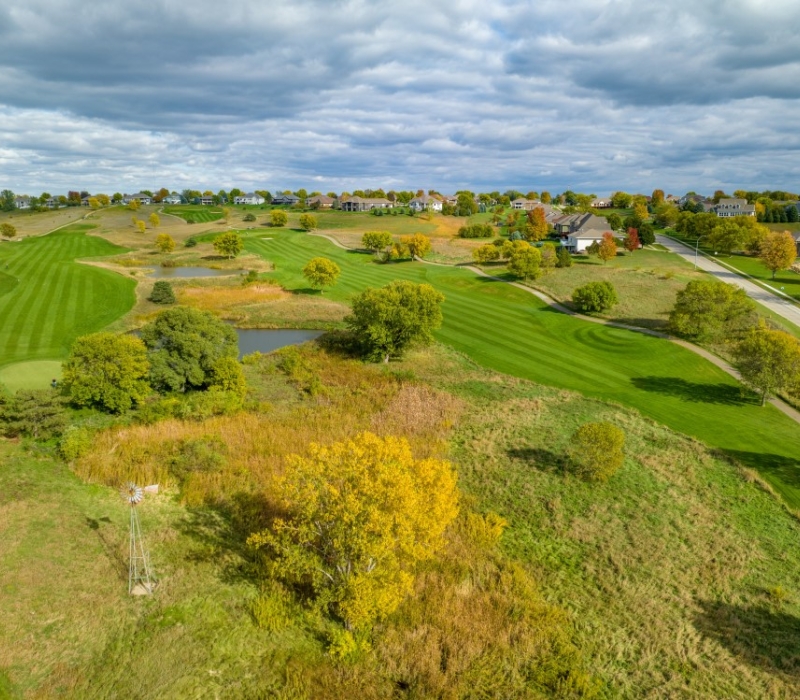
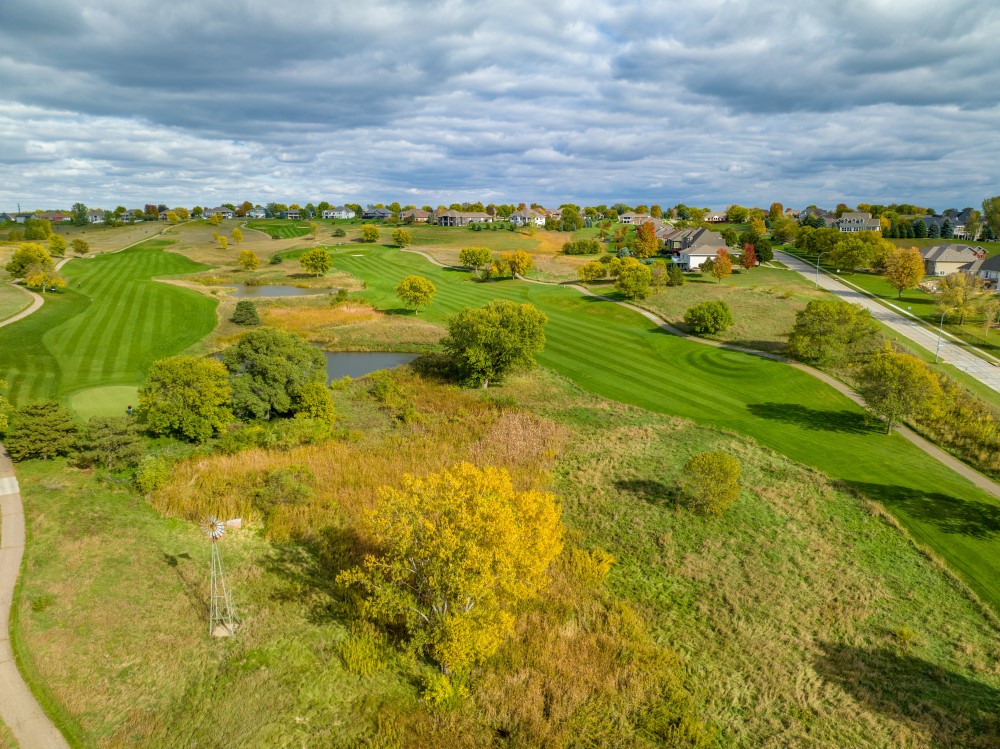
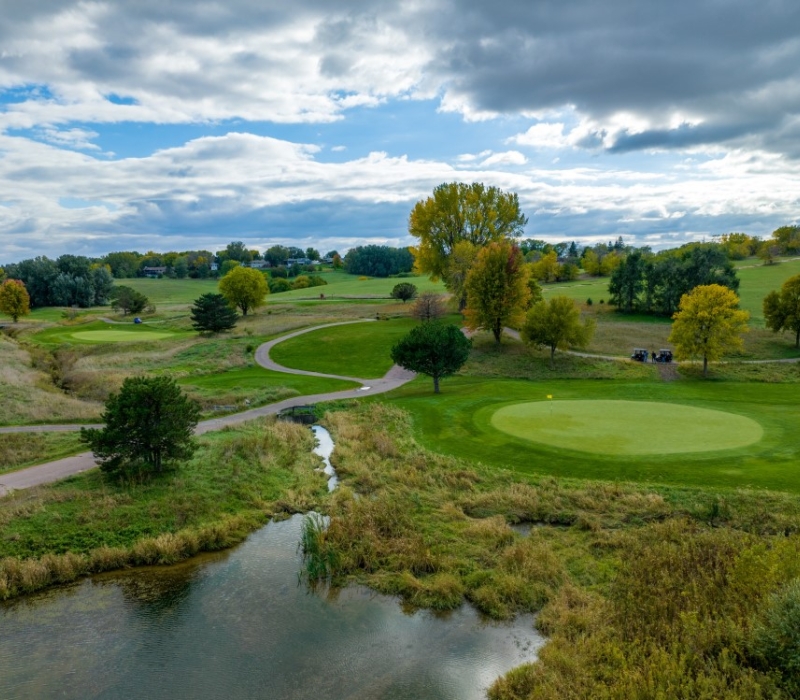
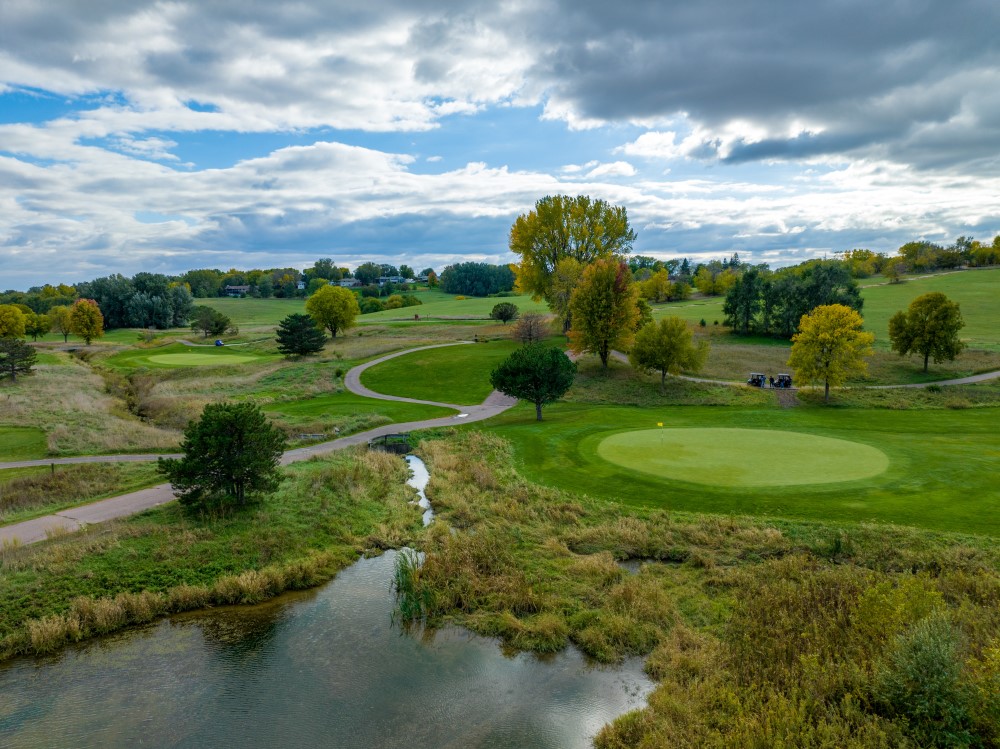
As soon as you arrive at Whispering Creek Golf Club, you begin to understand what golf here is all about. It’s Prairie golf at its finest with big skies, open vistas, wonderful views, wide fairways, and rolling fast greens. Natural brome areas surround the course and not only present a challenge but also give the golf course a majestic look.

Whispering Creek can challenge the best golfers but it’s very playable from the correct set of tees for golfers of all abilities, our five sets of tees that can vary the yardage from a very playable 4855 yards to 7175 yards for those that want to try and tame this beast.

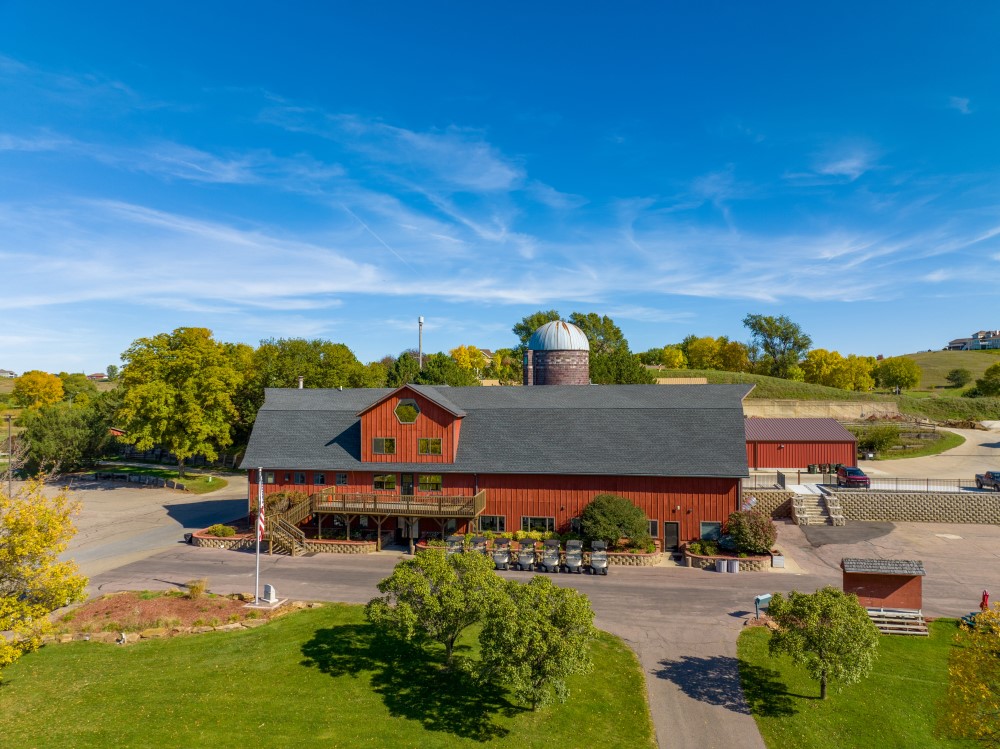
Whispering Creek is committed to creating an exceptional “golf experience” and providing an unmatched service to all of its patrons. We are dedicated to establish a relationship with our customer that doesn’t last a round but lasts a lifetime.

Whispering Creek was named 2007 Iowa Golf Course of the year and have hosted such prestigious events such as the 2006 Iowa State Amateur Championship and 2009 Iowa State 4 Ball.

Scorecard

Coming Soon!

Course Tour

  • Hole #1

    Whispering Creek’s starting hole is a slight dog-leg right with a downhill second shot using a mid-iron. The green is long from front to back and can be 3 clubs difference from front to back. Water comes into play with a back or left pin position.

  • Hole #2

    Hole #2 is a mid-length par three with many challenges as the player reaches the putting surface. The green is severely sloped from right to left and a ridge bisects the green’s putting surface. A lateral hazard is also in play all along the left side.

  • Hole #3

    This long par-4 requires a tee shot that stays close to the lateral hazard for a flat lie and a shorter 2nd shot. The green is relatively flat, but water hazard is in play on the long left side of the green.

  • Hole #4

    Four is a short par 4 that requires a straight drive or long iron from the tee. Lateral hazards are in play on both sides of the hole and pin placement is important to get a short birdie putt.

  • Hole #5

    #5 is a straightaway par 4 with a slightly elevated green. The lateral hazard is in play on the left side of the tee shot, and the deep green requires correct club selection.

  • Hole #6

    Hole #6 is a mid-length par 3 playing from 120-200 yards depending on the pin placement. It plays into the prevailing wind, and the ridge in the middle of the putting surface, demands good club selection.

  • Hole #7

    This is the first of back to back par 5’s and a good chance to make up a shot. The tee shot is open and usually down wind. 2 bunkers at the green, and the lateral hazard on the left are in play, but 2 well struck shots will leave a chip or short 3rd shot. Birdies can be had here.

  • Hole #8

    #8 is a par 5 of a little more challenge as the lateral hazard comes into play along the left and crossing in front of the green. A good drive can leave a second shot of 200-240 yards, but the crossing of the creek, and angle of the green require good placement of the approach shot. The green is 51 yards from front to back, so club selection is also important to avoid 3 putts.

  • Hole #9

    The long par 4 ninth hole in fairly open for the tee shot, but tightens up as you reach the elevated green. The green is severely sloped from right to left, and divided by a ridge into 2 distinct putting areas. 4 is a very good score to end your front nine.

  • Hole #10

    The Tenth is an uphill long par 4 that requires a straight drive with hazard on the left and bunker and trees on the right. The uphill second shot needs a high flight to get to the correct level of the 2-tiered green. The front bunker is very difficult to recover from, so long is not a bad place.

  • Hole #11

    Eleven is a short par 3 with a small green. Club selection is important to avoid 3-putts, and the deep bunkers in front of green.

  • Hole #12

    Twelve is the first of 3 back nine par 5’s with loads of character. Natural areas border both sides of the tee shot, and the hazard must be contended with for a chance to reach the green in 2 shots. The approach to the green gets very narrow, with the natural areas and bunkers on the right and a pond to the left of the green. The green is fairly small and has a slope toward the water on the left. This hole can yield birdies or “others”.

  • Hole #13

    This is the Whispering Creek signature hole with a collection of 4 sod-faced bunkers guarding the uphill tee shot on the par 3. Once a golfer has reached the putting surface, they are faced with a rolling green with a right to left slope. The right side of the green is a safe tee shot “bail-out”. 

  • Hole #14

    This par 4 is a great risk reward short hole. The hole can be safely played with a mid-length club and short 2nd shot. Or players may risk the bunkers, pond, lateral hazard, and natural grasses to try to drive the green and make birdie or eagle. Many rounds are made or broken with the choice here.

  • Hole #15

    The par 4 15th hole is a slight dog-leg right over 2 fairway bunkers to a multi-level green. As a player cuts the distance off of the tee shot, the second shot gets shorter and birdies can be made. Those who fail to cut the corner face lost balls or a fairway bunker shot of 150 yards.

  • Hole #16

    This is a very long par 5 that can play over 600 yards. With the elevated green, and 2 distinct putting areas, players have to plan their route to the green as they reach the tee. Bunkers guard the right and left of the hole, as well as the green. The natural grass areas come into play on each shot, and pin placement requires thought for your second shot. It is a true 3 shot hole with a challenge on each shot.

  • Hole #17

    Seventeen is a short seemingly easy par 3 of 120-160 yards. But as you figure the downhill, the wind, the pin placement, and avoiding the deep sod bunker on the left, the target gets a little smaller. Birdies can be made, but a good shot is needed to do so.

  • Hole #18

    This is a classic finishing hole where rounds and tournament competitions can be turned around. This par 5 can play from 450-600 yards and there is trouble all along the way including fairway bunkers, water hazards, 3 level green, and choices for the player. The fairway is split as you approach the green and it can be attacked from either side. The left side has a shorter shot, but has more risk to get there. The green has water on 3 sides, and 3 separate putting areas that must be considered as you approach. This hole can yield a great birdie, or a high number.

Photo Gallery


Book a Tee Time


© Whispering Creek Golf Club • 6500 Whispering Creek Drive • Sioux City, Iowa 51106
Tel: (712) 276-3678 • Privacy PolicyContactSitemap • Website by: The RWM Company

landscapes golf management logo white